
Bringing Easter Home
Strolling through the aisles of the grocery stores, shelves are still packed with colorful candies, plastic eggs and baskets waiting to be filled with chocolatey treats. This year, Easter will have a new meaning for many and that will mean new traditions to be made. Instead of the annual Easter egg hunt, take your own spin on making the day a special one.
Shaving Cream Eggs:
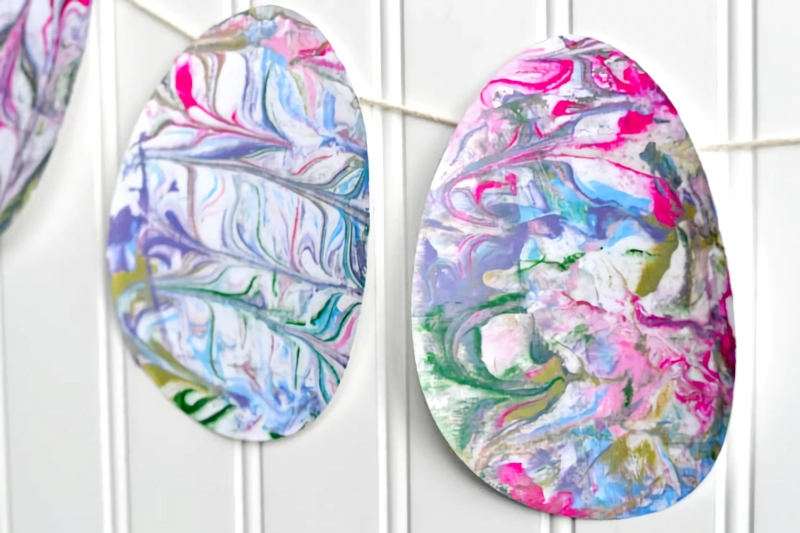
It’s not your typical run-of-the-mill egg dying activity, it’s art with shaving cream! You heard that right. Here’s what you’ll need: shaving cream, cardstock paper, acrylic paint, a tray or box lid, newspapers, a paintbrush and an old gift card or scraper tool.
Begin with your tray covered with a healthy dose of shaving cream. With the pointed end of the paintbrush, mix the paint and shaving cream to create a marbleized pattern. Using egg-shaped templates cut from cardstock, place the egg-shaped paper on top of the shaving cream and paint mixture, applying a bit of pressure.
Once your paper is coated in the patterned paint, pick it up and set it out to dry! Voila! You have your own unique marbled Easter egg.
No Sew Easter Bunny:
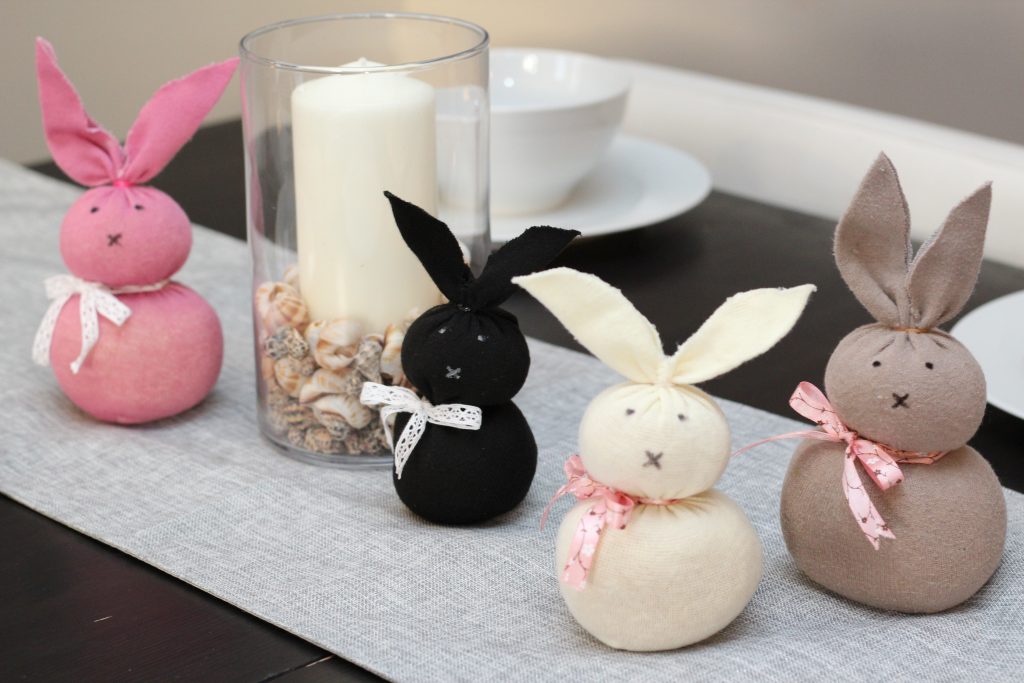
Enjoy the Easter Bunny all year long! And don’t worry, there are no sewing skills involved in the making of this craft. Starting with a ribbon, a permanent marker, rice (one cup per bunny), socks and rubber bands, you’ve got the makings of a bunny on your hands. Take the mismatched sock, fill it with the cup of uncooked rice. Then, using the rubber band, tie off the top of the sock. To differentiate a head and body shape, tie a rubber band between the head and the body, then replicate the same step to create a tail.
Now for the most important part, the ears! Cut the excess sock at the top in the shape of bunny ears, using the permanent marker to trace the outline. Finish your masterpiece by drawing a nose and eyes and tying a ribbon of your choosing around its neck. Don’t forget to give them a name!
Easter Garland:

Looking for a good use for that Mod Podge you bought six years ago for a single craft? This simple yarn garland is an example of creative repurposing at its finest. Using Mod Podge Matte, 7-8 12-inch balloons, multi-colored yarn and a sponge paintbrush, you’re ready to get started.
Begin by blowing your balloons until they hit about 6 inches tall, or are somewhat egg-shaped. Coat the balloons with Mod Podge using the sponge paintbrush then wrap the yarn around the balloon, anchoring it off by tying a bit to the balloon knot at the bottom. Cut the end of the string then soak the balloon in another coat of Mod Podge. Dry your egg garlands for about 24 hours before popping the balloons in the center.
Once you’ve scooped out the deflated balloons, weave some garland through the yarn eggs and decorate as you wish!
Easter Cheese Ball:
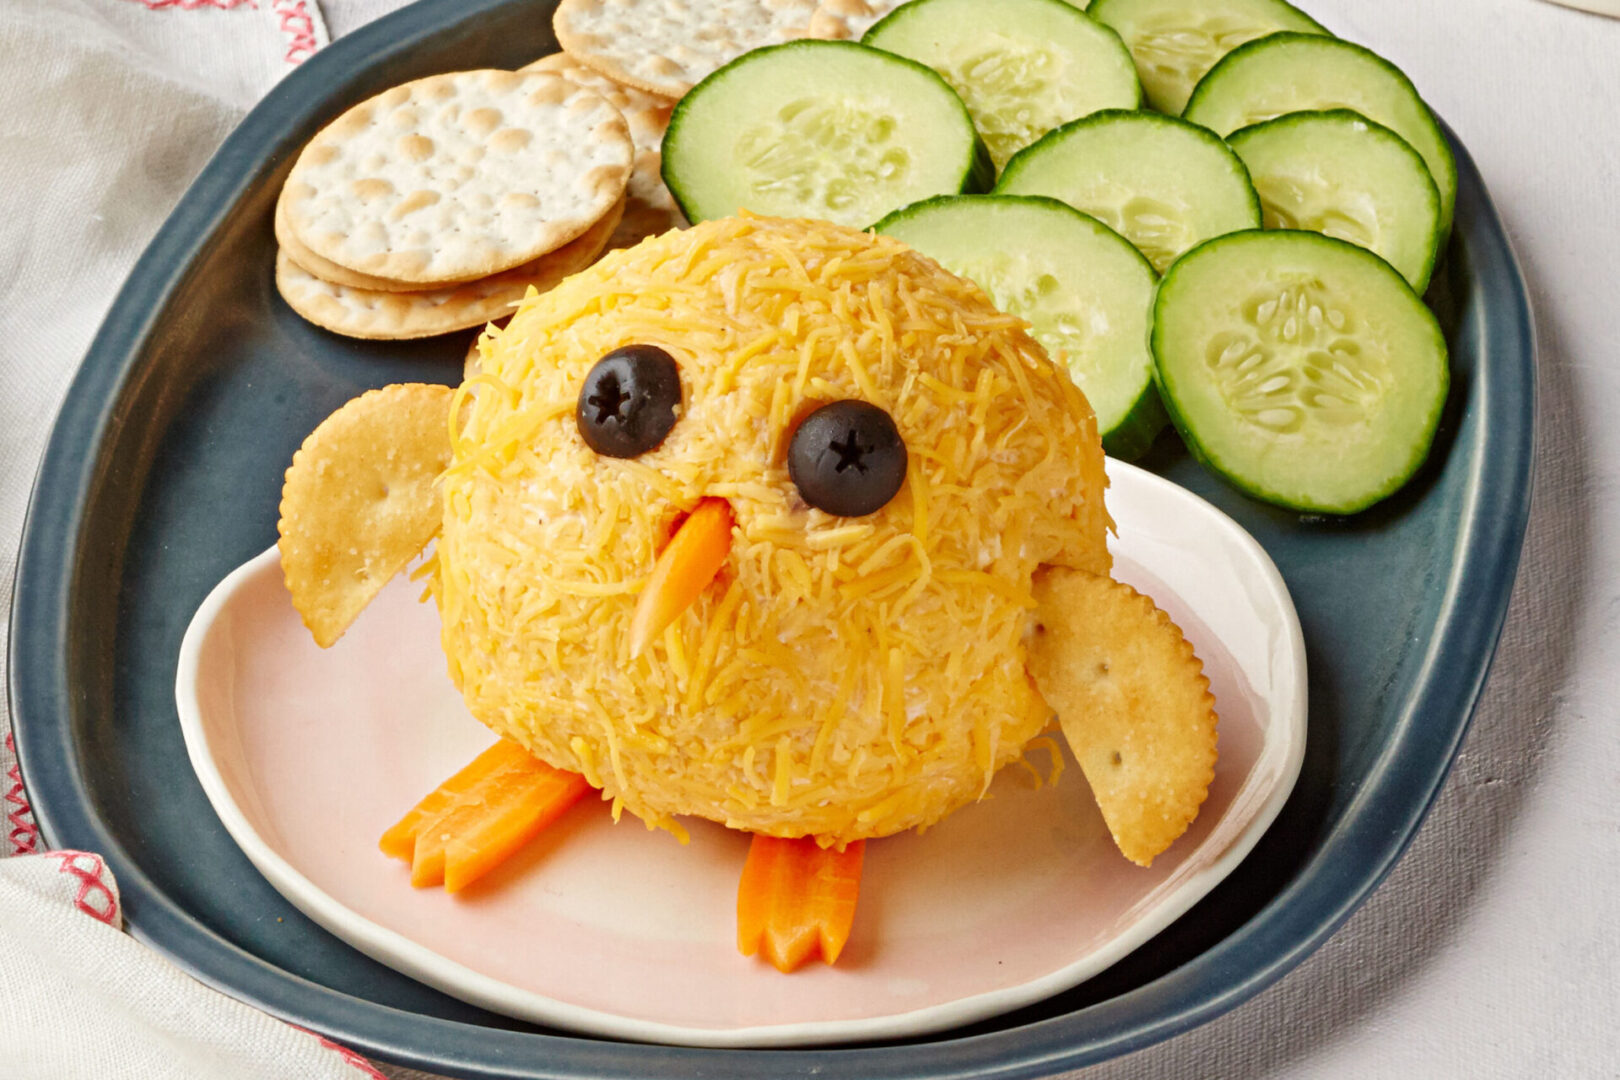
And what’s Easter Sunday without a tasty afternoon snack? The Baby Chick Bacon Cheese Ball by Kraft is the perfect themed appetizer for your lunch of social distancing. You’ll need one 8-ounce package of cream cheese, 2 slices of bacon, 2 teaspoons of Worcestershire sauce, 1-½ cups of shredded mild cheddar cheese, ½ of a small carrot, 1 black olive and 1Ritz cracker cut in half.
Blend together the cream cheese, bacon, Worcestershire sauce and cheddar cheese. After refrigerating the mixture for about an hour, mold it into a ball adding in any remaining cheddar. Decorate with the remaining ingredients to complete your baby chick!
Bunny Bookmark:
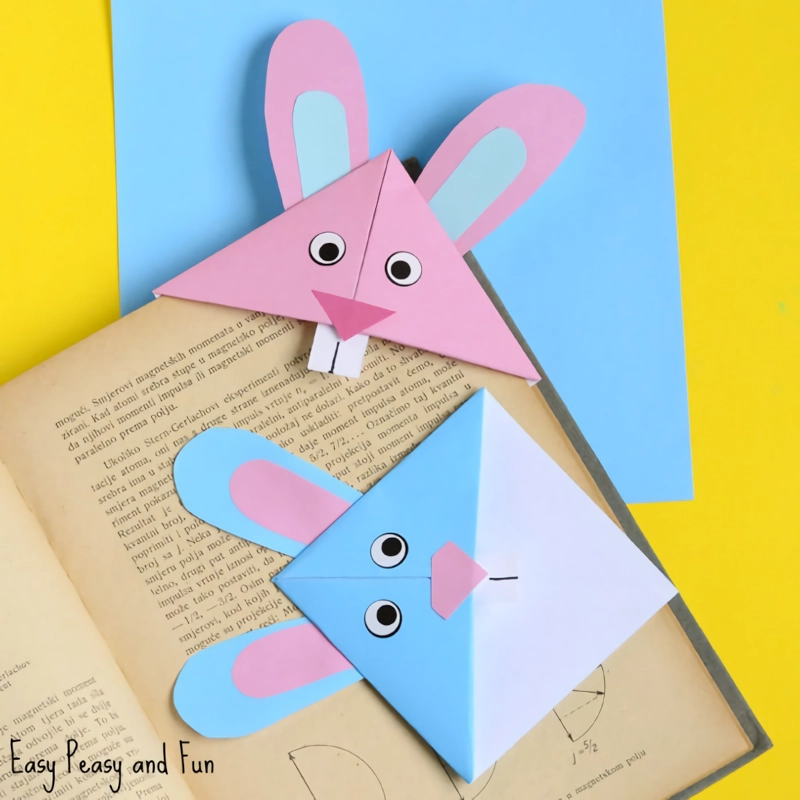
With all that extra time for reading, pair your favorite novel with your new favorite bookmark. Take on your Easter origami craft with pastel origami paper, googly eye stickers, white paper, a black marker, scissors and glue. Fold the origami paper diagonally and then unfold it, repeat that step the other direction.
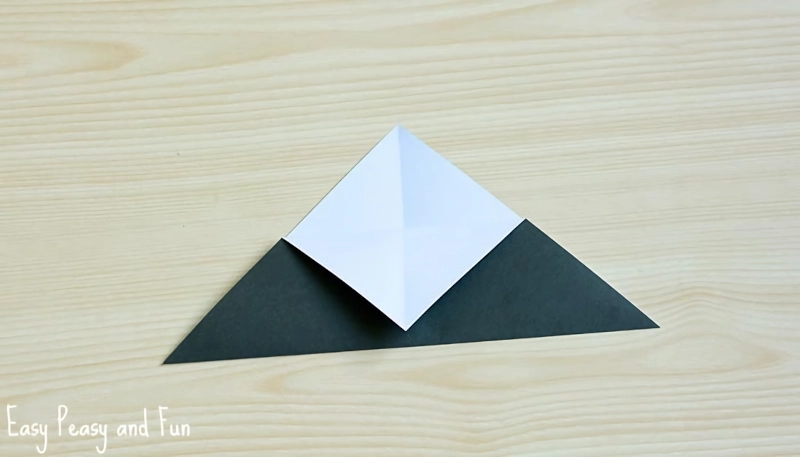
Fold the paper into a triangle with the colored side on the exterior. Taking one side of the triangle fold the top of the paper a bit towards the bottom of the triangle as demonstrated below.
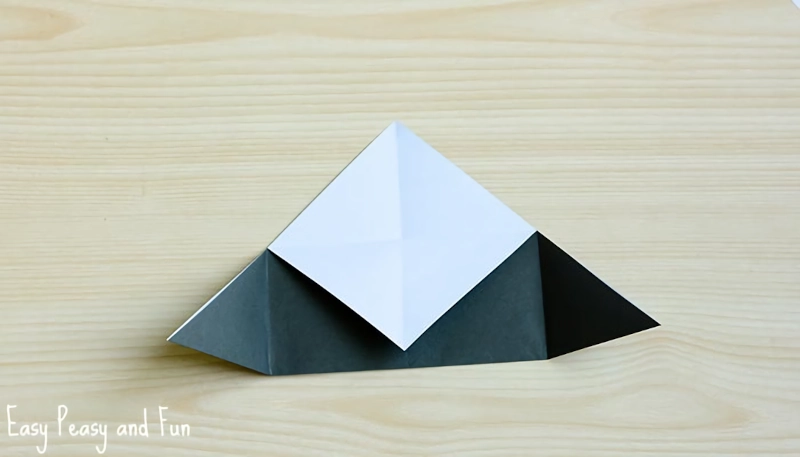
Fold the right and left corners of the triangle into the center and then unfold them.
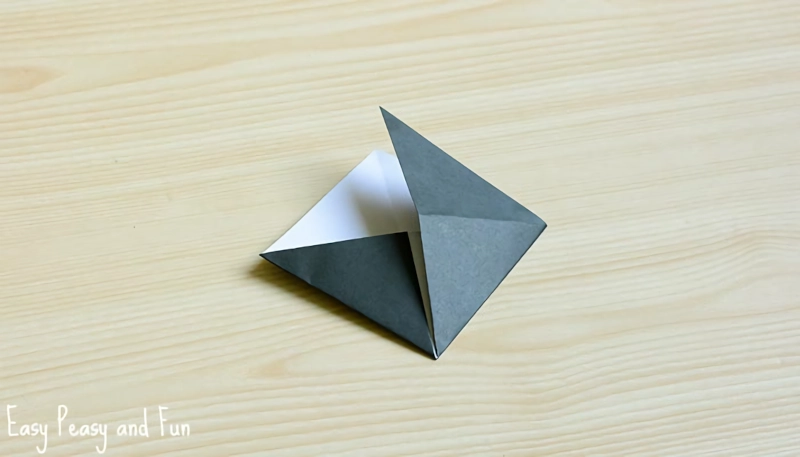
Grab and crease the corner towards the top of the triangle, repeating the step on the other side. Finally, tuck both tops inside the pocket as shown below.
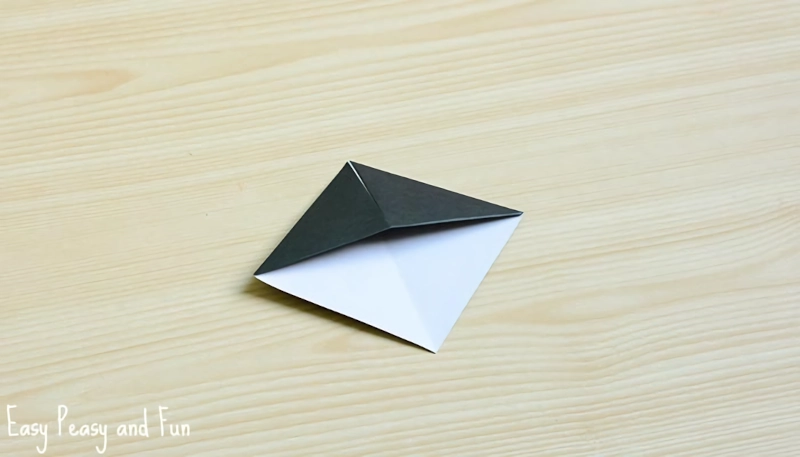
Tuck the white triangle inside of the pocket and begin to decorate using the eye stickers and other paper accessories for the ears, nose and teeth.
Whichever activity you choose to celebrate Easter Sunday, we wish you a happy, healthy and safe holiday!